- Community >
- Blog Central >
- Blog by deleted JaJeJems >
- How to Make Soap at Home
| Oct 16 |
How to Make Soap at Home
|
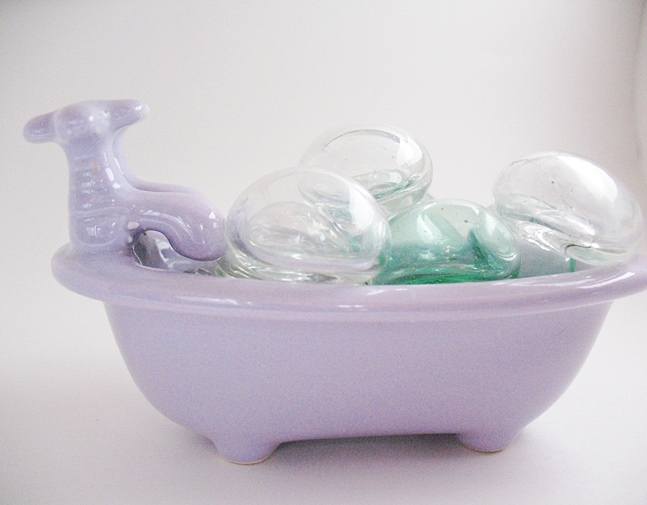
Washing, bathing, showering or shampooing the dog - how many times a day do you have that bubbly bar or some other form of soap in your hands. Soap in all it many forms is an important part of everyday living. You may very well be a person who is seriously considering making your own soap some day or you may just be curious about how your favourite bar of sudsy actually came into being! Here is a short history of soap making and a simple recipe for a basic soap that you can make in your own kitchen.
Soap making through the ages
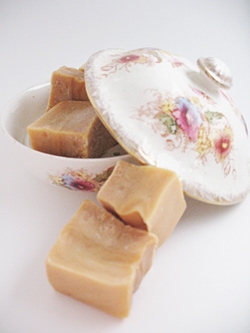 Soap production dates back as far as Babylon in 2500 BC. In addition, evidence of soap making has been found in many other countries and cultures since that time.
Our own pioneer ancestors made their soap from basic ingredients that they had readily at hand. The three main ingredients were lye (which they made from wood ashes), tallow (rendered beef fat) or other fats that they saved from cooking, and water, often soft water collected when it rained. To make lye the wood ashes collected from their fireplaces were placed in a hopper as pictured on the left. Soft water from the rain barrel was poured over the ashes and allowed to slowly drain through them until a small trickle of the liquid lye poured out of the bottom of the hopper. The lye and rendered fat were then mixed and poured into a mould to cure.
Soap making was a labourious task in those days and depending on the skill of the soap maker the finished product could be harsh and sometimes even greasy. The pioneer homemaker usually made large batches of soap at one time and hoped to make it last over the coming year. The all purpose soap produced was usually unscented and often unattractive but it was used for everything from washing laundry to bathing. If you have the opportunity to visit a pioneer village you will probably be able to see first hand how soap is made the "old fashioned" way.
Is soap making an art or a science?
That pretty and probably fragrant bar of soap on your bathroom sink is actually made by mixing animal fat or vegetable oils with a strong alkaline solution called lye. The fat is composed of three molecules of fatty acids called triglycerides which are attached to a single molecule of glycerol. Mixing the fat with the lye brings about a chemical reaction between the fatty acids and the lye called saponification and voila we have soap! The glycerol or glycerin that remains is either left in the soap to act as a moisturizer or removed for other purposes.
When soap making went from the homestead to the factory, not much really changed in the basic process. In the late 18th century advertising campaigns in Europe and the United States promoted health and cleanliness, and industrially manufactured bar soaps first became available. In the industrial process the production of soap is a continuous process of mixing the fat and lye and removing the resulting soap, forming it into bars and wrapping the bars for sale.
Fast Forward to 2012
In recent years, small producers have revived the "art"of soap making. Marta Raptis of Delightful Suds is a modern day purveyor of natural handmade soaps and entrepreneurs like Marta are making handmade soaps with all natural ingredients. Unlike the industrial producers, these artisan soap makers work in small batches to produce pretty and fragrant soaps such as those pictured below. These soaps are generally hand packaged and sold in retail stores, farmer's markets, crafts show and in online stores on websites such as iCraft.
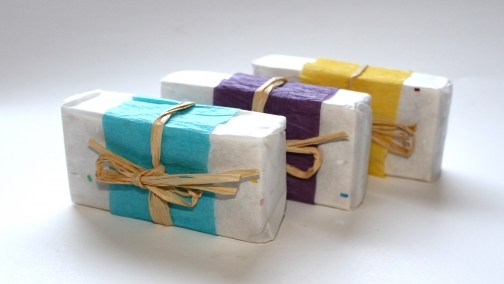 While Marta isn't about to give away all of her secrets, she has kindly provided me with a simple basic soap recipe that could easily be made in your kitchen from ingredients that you may (or may not) have readily on hand! Before you get started you will probably need to visit a grocery store, hardware store and hobby shop to pick up the following ingredients: 17 oz olive oil, 12 oz palm oil, 10 oz coconut oil, 4 oz castor oil, 14.3 oz distilled water, 6.4 oz lye and 1 oz of essential oil of your choice.
If you have a closer look at the ingredients you can see that you have all the basics, just like great-grandma did - some fat, some lye and distilled water in place of rain water. But what, you might well ask, are essential oils and why would you want to add them to soap? Marta tells us that essential oils add unique properties to soap such a fragrance or in some instances other beneficial qualities. The lemongrass essential oil that she has used in her invigorating lemongrass and french clay natural handmade soap, for example, is a natural stimulant and and astringent.
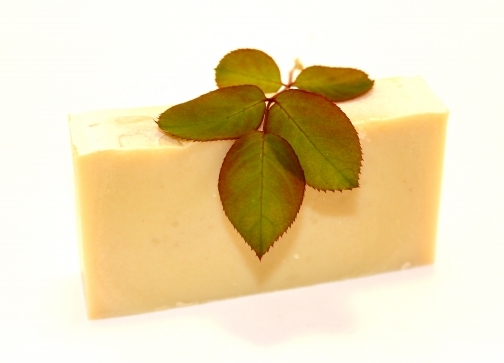 In addition to the lemongrass oil, Marta has taken this soap a step further by adding french clay which is purported to remove impurities from the skin, stimulate blood flow and help give your skin a healthy glow!
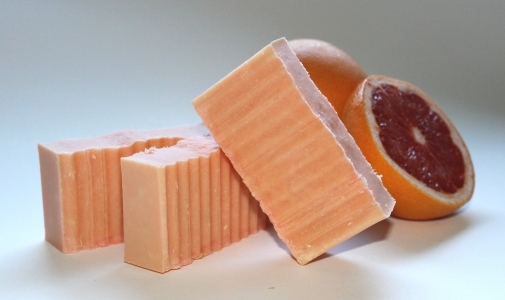
The pink grapefruit essential oil used in Marta's pink grapefruit with loofah natural handmade soap (pictured below) is believed by aromatherapists to be a spiritual up-lifter, and to ease muscle fatigue and stiffness. It is also a purifier of congested, oily and acne prone skin and acts as a natural toner and cellulite treatment. Pink grapefruit essential oil has a light citrusy scent and is also said to ease nervous exhaustion and relieve depression.
Beyond the addition of an essential oil, Marta takes this grapefruit soap to a higher level with the addition shredded loofah, a natural plant source sponge, for ultra exfoliation.
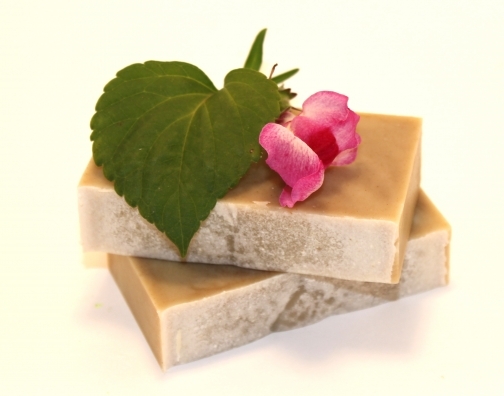
 For another example of an essential oil, have a look at Marta's tea tree and kelp purifier natural handmade soap (below). Tea tree oil is a natural antiseptic which helps heal acne and control blemishes while giving the skin a natural, healthy appearance.To "up the ante"on this lovely soap Marta has added seaweed powder which is a rich source of vitamins such as vitamin B12 and vitamin E as well as amino acids, minerals, trace elements, and other nutrients.
Well are you feeling undaunted by the challenge ahead? Then let's look at equipment!
You will need some simple kitchen equipment such as a hand or stick blender, measuring cups, pots and pans, a candy thermometer and some kind of container or mould for shaping your soap. Glass, wood and stainless steel are your best choices as they will not react with the lye. A wooden spoon will be good for stirring or you could even recycle a chopstick saved from your last chinese take-out!
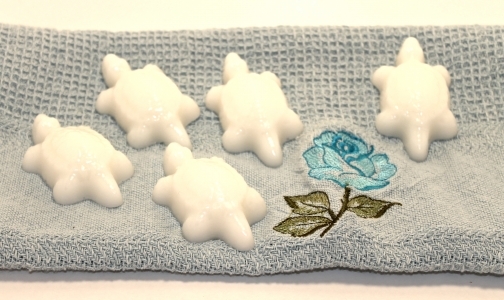
You will probably want all of this equipment to be dedicated solely to soap making. In terms of moulds for shaping the soap they can be as simple as a cardboard or wooden box, or a loaf pan lined with wax paper. Once the soap is removed, you will then be able to cut it into bars. You can purchase decorative moulds for soap making or sometimes candle and candy moulds can be used effectively. Marta has used a turtle mold in the picture on the right to make her cute turtle shaped natural handmade baby soaps.
 Well if you are still with me let's get started!
First of all I need to warn everyone that making your own soap can be a dangerous process. Lye is a very caustic substance which can burn your skin. Breathing in the fumes that result when lye is mixed with water can be very harmful to your lungs. Please have your arms and legs covered and wear gloves and eye protection when making your batch of soap. There are many good books on soap making available at the library or in bookstores in addition to lots of good online information. What follows will only be a brief description of the process involved and remember as with all DIY projects, practice makes perfect!
1. Mix the lye and water in large pyrex measuring cup and stir with a wooden spoon. DO NOT BREATHE THE FUMES. PROTECT YOUR EYES WITH GLASSES OR GOGGLES AND YOUR SKIN WITH GLOVES.
2. Let the lye mixture cool to 110F. Warm your oils to 110F. Use a thermometer in both cases for accuracy. When both are at the same temperature, slowly pour the lye mixture into the oils. Mix with a hand blender in short pulses for about 3 minutes. A wisk will also work but it may take hours of stirring. The hardest part of the process is knowing when it is done. The state of doneness is called "trace" which is the exact moment in time when a dribble of soap sits on the surface instead of sinking into the pot.
3. Add your essential oil just as the trace is reached and stir it in gently. Pour your soap into your prepared mould and cover with a blanket for 24 hours to keep it warm and to help along the chemical reaction. After 24 hours, when your soap is set, unmould and cut it into bars. Store your soap, nicely separated, in a cool place for about a month, turning the bars every two weeks.
Once you have mastered the basic techniques, then the sky is the limit in terms of creativity.
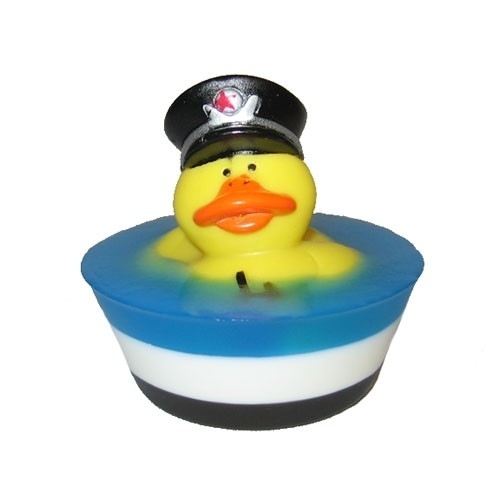
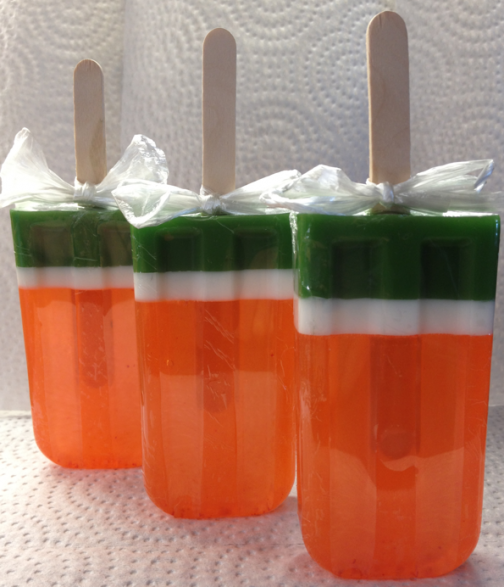
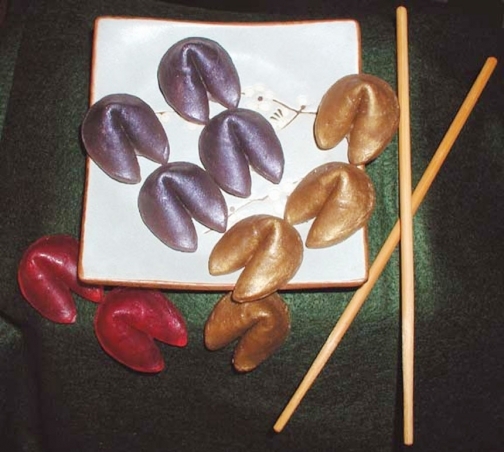
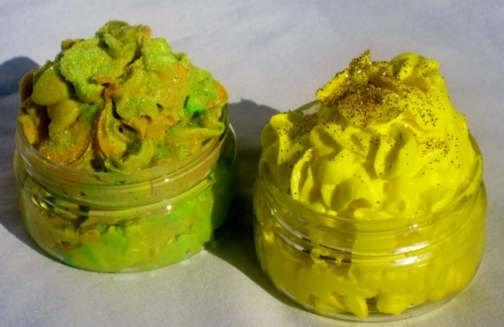
Pictured above are some great examples of novelty soaps from some of the other soap shops on iCraft. A variety of colours, shapes, sizes and even techniques such as whipping and extruding make modern handmade soaps interesting to look at and fun to use. Soap, in whatever form it takes, will be around for years to come. Now might just be your time to give soapmaking a try. If you do I wish you good luck and Happy Rub-a-dub-dubbing!
- Category:
- Tips, Tutorials & DIYs
- Tags:
- natural hand made soaps
- lemongrass soap
- french clay
- pink grapefruit
- grapefruit soap
- tea tree soap
- for acne prone skin
6 Comments
Apr 8, 2013 | Jewelry by Kat
Nov 4, 2012 | LisaGold
Oct 18, 2012 | Fairy Cardmaker
Oct 17, 2012 | Silver Workshop
Oct 17, 2012 | Red Rock Designs
Oct 17, 2012 | Delightful Suds


