- Community >
- Blog Central >
- Blog by Fairy Cardmaker >
- One-Stamp Card Tutorial, Mother's Day...
| Apr 28 |
One-Stamp Card Tutorial, Mother's Day Gift Idea
|

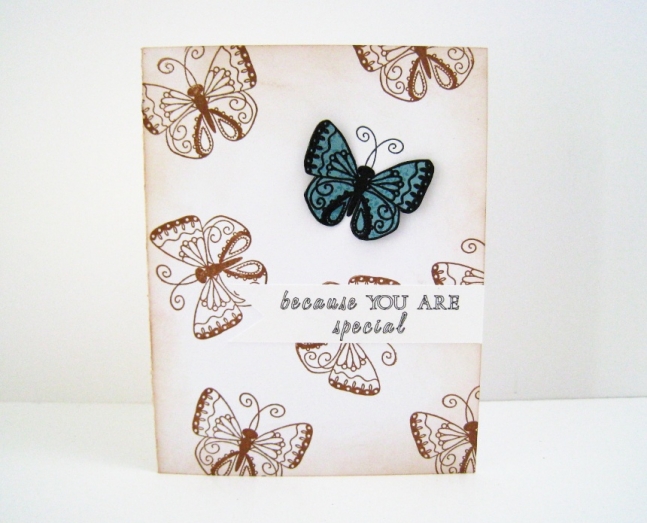
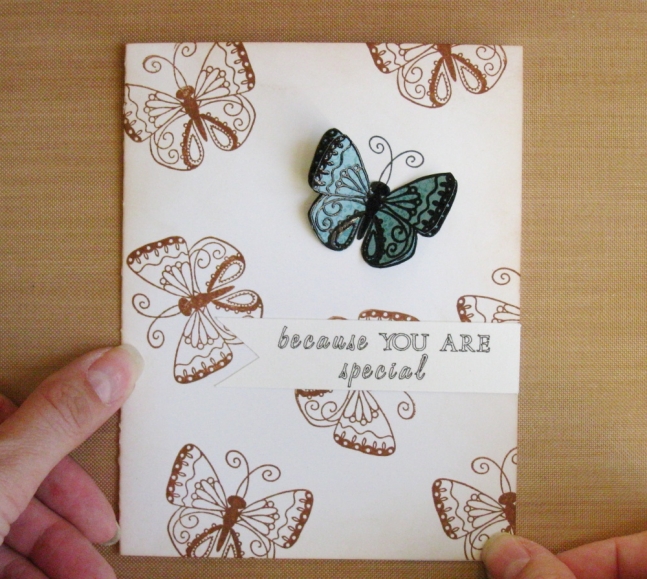
April is a busy time for me, but I needed to produce some cards really quickly. I used a technique on this Special Someone card that is simple, fast and inexpensive, yet yields a very cohesive look. This card is perfect for Mother's Day or any special woman in your life (sister, significant other, best friend, etc.)! Even children can use this technique to make a pretty card for mom. Here's what you need:
MATERIALS:
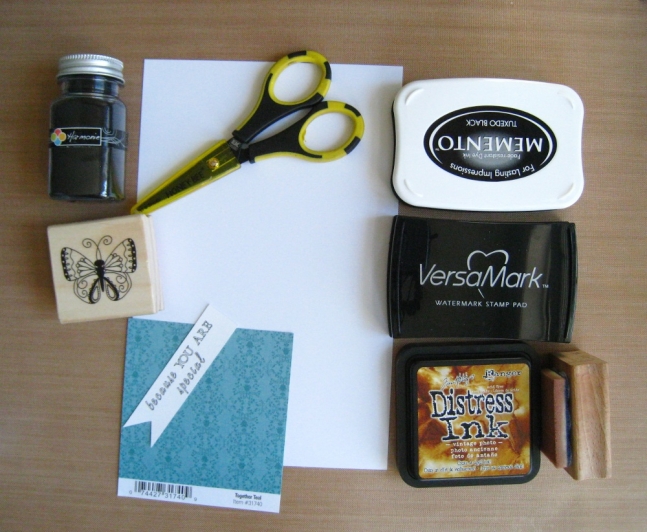
REQUIRED
- Smooth Cardstock: 8.5 x 5.5 inches
- Black ink (here, Memento Tuxedo Black)
- Neutral Ink (here, Tim Holtz Ranger Distress Ink in Vintage Photo)
- Fine point scissors
- Stamp (here a Craftsmart butterfly from the sale bins at Michael's Craft Stores)
- Sentiment
- Scrap piece of pattern paper (mine is from Chatterbox)
- Scrap paper
- Glue (didn't make it to the picture, sorry!)
OPTIONAL:
- VersaMark stamp pad
- Black Embossing powder (here, Harmonie)
- Heat tool (Ranger heat gun not pictured, you can use a toaster or stove element)
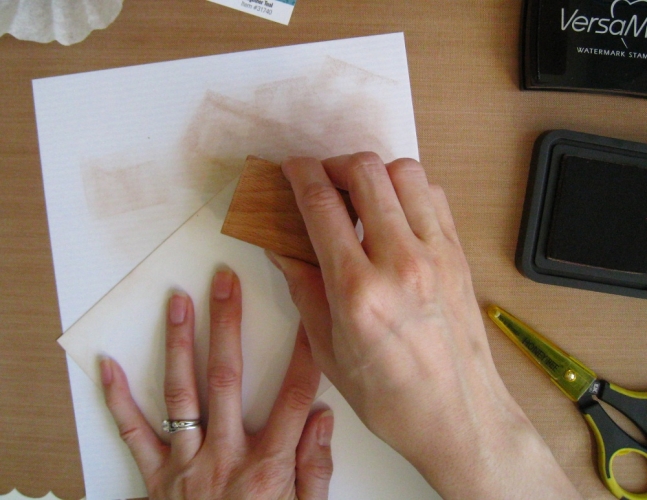
STEP ONE:
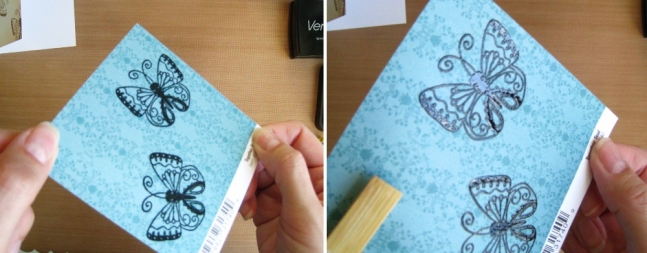
Fold your base card in half at the 4.25 inch mark on the 8.5 inch side. Your finished card will be invitation sized at 4.25 inches by 5.5 inches. Ink the edges of the front of the card with the neutral ink. I used a foam sponge applicator but a foam make up sponge applicator will work too. Use the scrap paper as a protective mat.
STEP TWO:
Stamp the butterfly in black once. Then randomly stamp it in the neutral colour all over the front of the card. TIP: Turn the stamp a little each time you stamp it so that the pattern looks random. TIP: Stamp some OFF the edges of the cardstock so it looks like a printed page instead of a planned page.
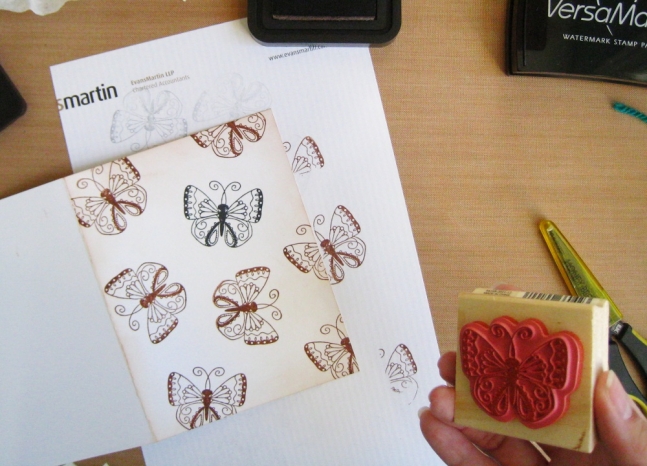
STEP 3:
Stamp the butterfly TWO times in black on the scrap piece of patterned paper.
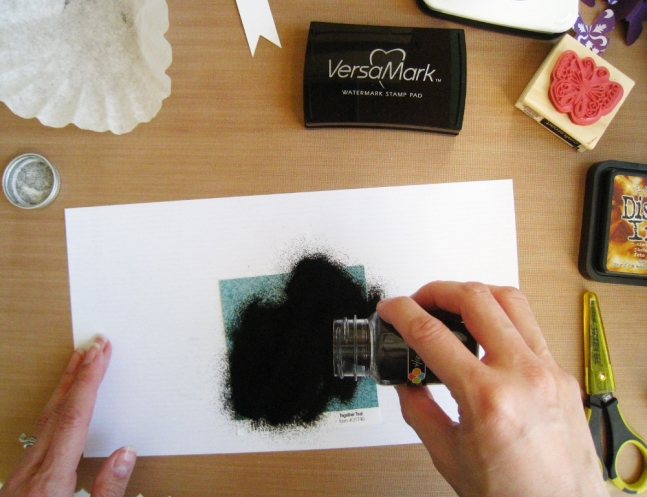
STEP THREE (OPTIONAL):
Stamp it in versamark first, then cover in black embossing powder (pictured below). Shake off the excess to reveal the powdered images. TIP: I use a cheap coffee filter from the dollar store to catch my excess powder and return it to the bottle. If working with children, I recommend skipping the embossing.
Heat emboss the powdered images. If you do not have a heat gun, you can hold it over a toaster or stove element to heat the paper from the BACK side of the image. Heat until the powder has melted. When it becomes completely glossy, it is done. TIP: Use a clothespin to hold the scrap paper so you don't burn your fingers!

Here's a before and after of the powdered image and the completely heated image.
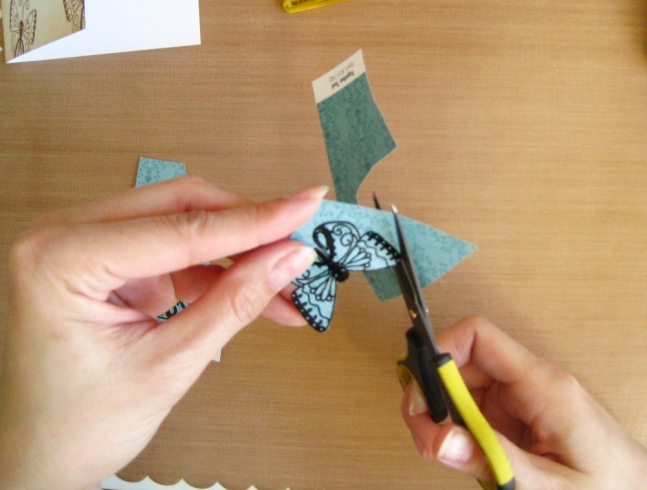
STEP FOUR:
Carefully cut out both images with fine tip scissors. I cut off the skinny antennae since there are some stamped on the card front already. TIP: Move the paper around the scissors; don't move the scissors around the paper. In other words: Use one hand to turn the paper while your dominant hand squeezes the scissors.
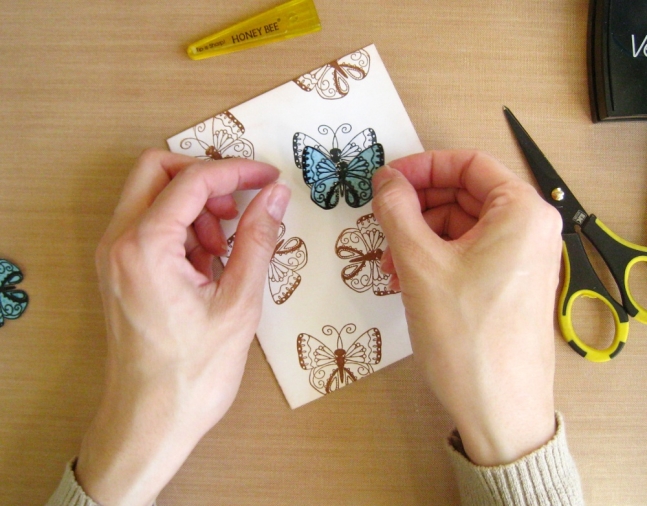
STEP FIVE:
Adhere one image over the butterfly stamped in black on the front of the card. This is called paper piecing.
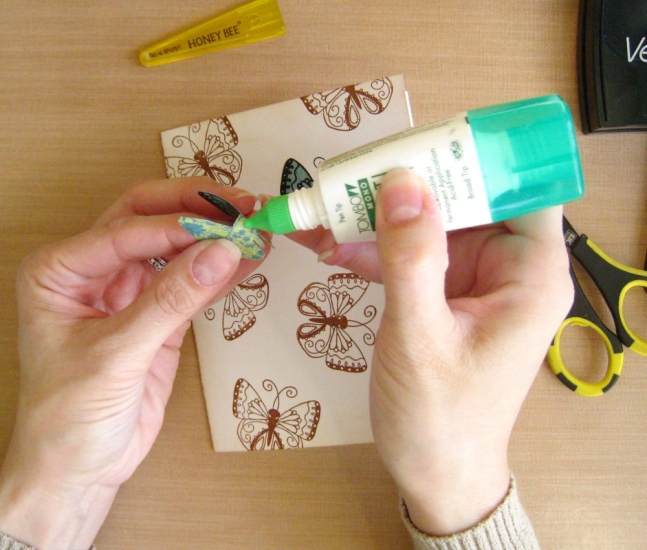
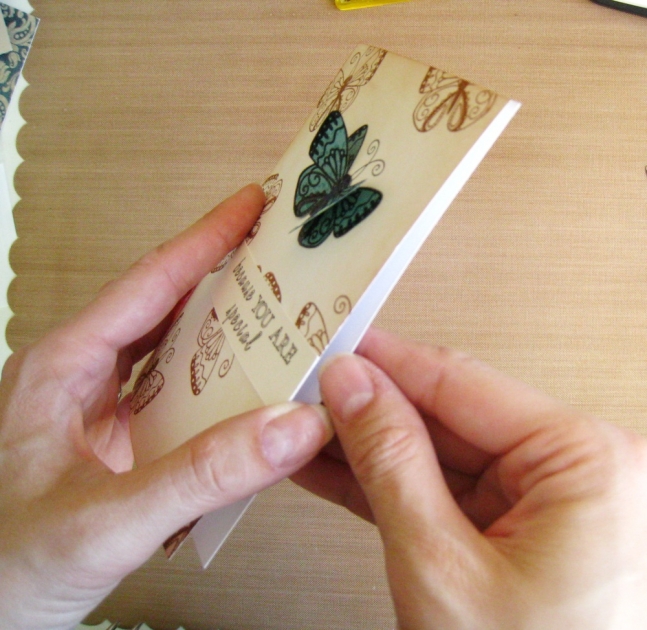
STEP SIX:
Place glue only on the body of the second image and layer over the first.
STEP SEVEN:
Add sentiment.
You're ALMOST DONE!
STEP EIGHT:
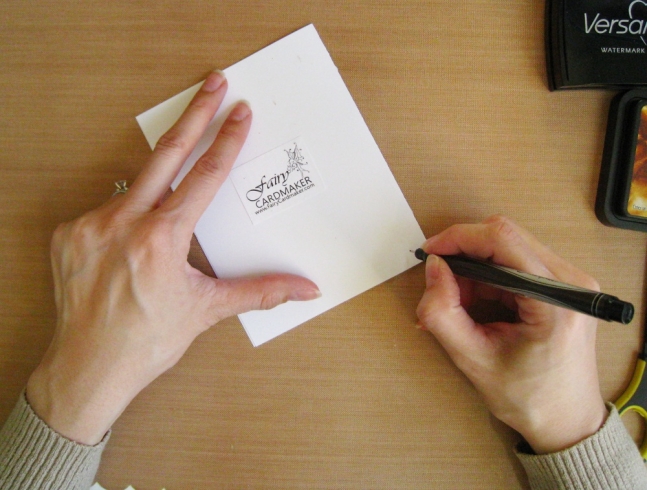
Don't forget to sign the back so everyone knows whose handiwork went on this card!
VOILA!
With a stamp from the sale bins and a piece of scrap patterned paper, look at your 3D butterfly one-stamp card.
- Category:
- Tips, Tutorials & DIYs
- Tags:
- greeting card
- handstamped
- tutorial
- Mother's Day
- gift ideas
2 Comments
Apr 29, 2012 | Ahkriti
Great tutorial and very well described Lisa! The only stamps that I have are flowers and will try this. Should go and get some other stamps and try with colored ink. I only have gold.