- Community >
- Blog Central >
- Blog by Quinn Goods >
- How to make a silicon mold for 3D...
| May 3 |
How to make a silicon mold for 3D printing to copy your custom creations
|

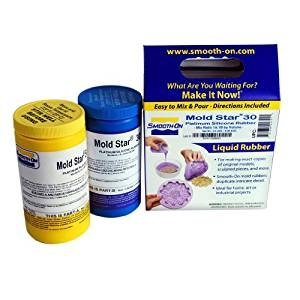
If you've made a cool 3D print, sculpture or just want to copy a figure, mask or anything really all you have to do is to create a mold. For this I only use Smooth On products becasue of the quality and simplicity. I like to use Mold Star 30 becasue its a 1 to 1 ratio of the part A and part B mixtures and it has a 30 mixture working time. After you pour in the silicon mold mixture it will full set in 6 hours.
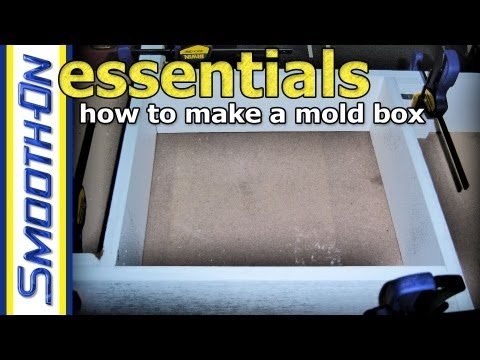
The first step is to create a boxed in area to pour your mold into. The goal is to have about an 1inch or so from the edge of your item to the border of the encolsure. Any more than that and you'll be wasting product. I build the enclusure with foam. If its a flat backed peace you're working with you will hot glue the bottom of your peace to the foam bottom. Then you'll hot glue together the walls of your enclosure. The height should only be an 1" max above the item you'll be molding. Any more would be again wasting product.
Once you have created the foam enclosed area or box you can mix the A and B solutions. There is a calculator on the Smooth On website you can use to esitmate the amount of material you'll need. The ratio is a 1 to 1 part A and part B. You just mix equal part into a larger bucket of large measuring cup depending on the amount of material and mix well until completely mixed. Scrape the walls of your mixing area to ensure all product is mixed. If you use Mold Star you just have to mix by hand, no pressure tank will be needed or anything like that. Some other silicon mold mixtures require a pressure tank to mix.
Now that you've mixed the product together you can pour it into the enclosed area. You want it to look like a cement block or stone. You dont want to see any fo the cruves or areas of your item that you're making the mold for. It should be well under the top of the mixture.
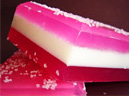
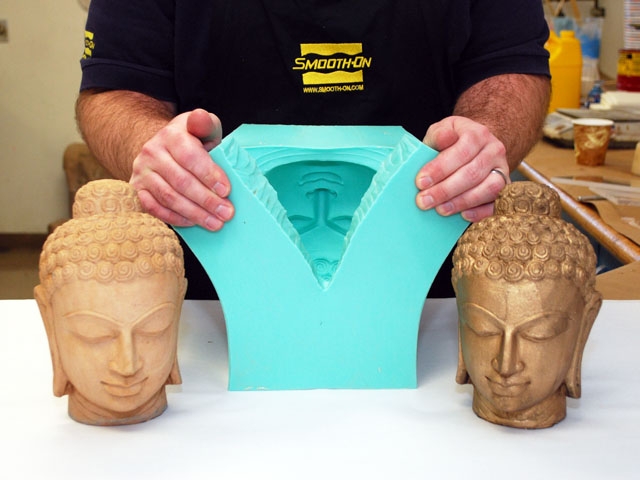
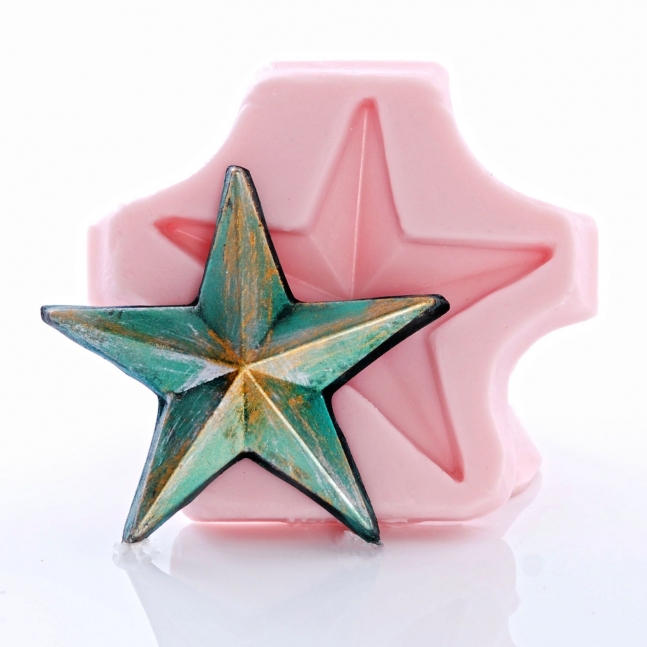
Now that you've waiting 6 hours your mold should be done. Once your mold is dry you'll want to cut the bottom parameter of your flat object and pull out the mold. It should look something like the picture below. You can do a 2 sided mold other variations as well. There are a ton of good instruction step by step guides on the Smooth on site. I hope this gives you a general idea of how to make a mold and sparks your created brain to attempt a mold of your choice.
I hope you enjoyed the read. Contact me with any questions you may have.
Nick Quinn, Quinn Goods
Picture credits goes to" Smooth On" the manufacturer of the materials I use.
- Category:
- All Things Crafts
- Tips, Tutorials & DIYs
- Tags:
- silicon mold
- smooth on
- 3d printed
- resin casting
- quinn goods
- molds
- silicon
- resin
- mold casting
Submitted by:
- Quinn Goods
- Temecula, CA, US